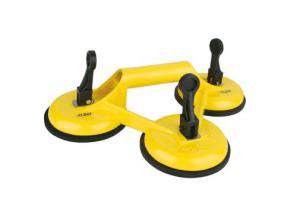
It’s incredibly important to have the right tools for the job when it comes to installing a new paver project. Professional tools for Sintered Stone installation including, Suction Cups Lifter, Tape Measure, Level Ruler, Infrared Laser Level Meter, Telescopic Empty Drum Hammer, Hand-Operated Ink Fountain, Electric Hand Mixer, V-Notch Trowel, Rubber Clapper, Vibrator Motor, Tile Leveling System, Stone Seam Setter, Cleaning Sponge and Vacuum Slab Lifter.
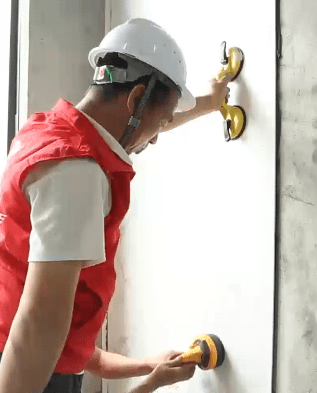
Suction Cup Lifter
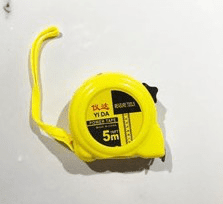
| Tape Measure
| Level Ruler
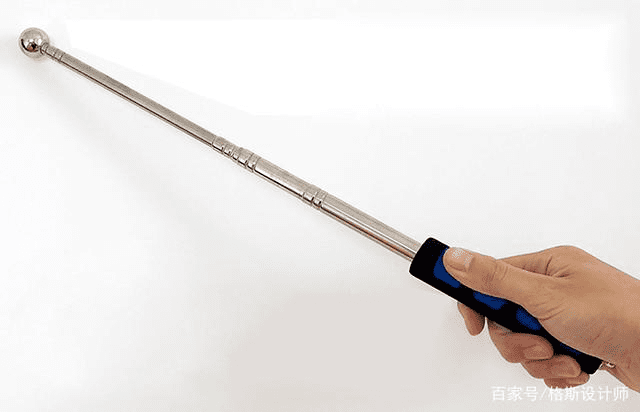
| Infrared Laser Level Meter
|
Telescopic Empty Drum Hammer
| Hand Operator Ink Fountain
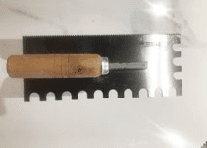
| Electric Hand Mixer | V-Notch Trowel
|
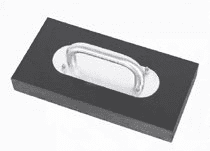
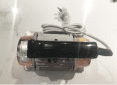
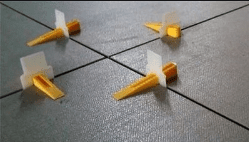
Rubber Clapper | Vibrator Motor | Tile Leveling System
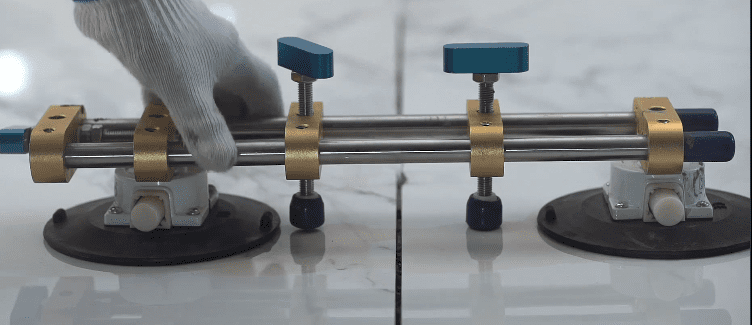
| Stone Seam Setter |
Cleaning Sponge | Slab Vacuum Lifter
|


1. Sintered Stone Paving
1.1 Subfloor Inspection
Subfloor inspection should be carried out properly before installment, to detect surface defects such as cracks, hollowness, grease dirt and etc. Clean the surface of loose dust and dirt, remove oil , grease, grit, and any other contamination which may be considered barriers to adhesion.
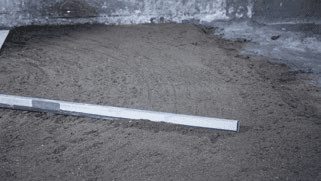
1.2 Subfloor Levelling
Use infrared level meter to measure the flatness of subfloor, the acceptable tolerance is 3mm over a 2LM straight edge (Surface Regularity - SR1) . If higher / lower than said value, then use cement mortar for levelling. Always allow the new floor to set before proceed to the next step.
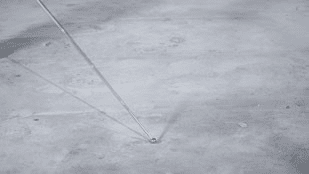
1.3 Snapping Layout Lines
Use ratio 1:1 of project design drawing and Sintered Stone style to snap layout lines on the floor with dimensions and set aside gap spacing as per design requirement.

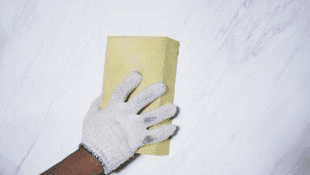
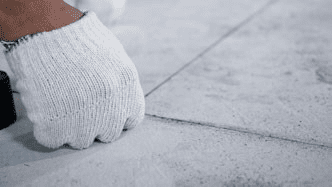
1.4 Cleanliness
Prior using or moving Sintered Stone tiles, clean the tiles and contact surface of vacuum suction cups with cleaning sponge to provide better suction force.
1.5 Adhesive Preparation
Mix water and adhesive designed for Sintered stone with ratio as per adhesive manufacturer’s recommendation. Stir and let it rest for about 5 to 10 minutes. And Stir again until you get a mayonnaise-like consistency. Use it within the allowable time stated on the label. Adhesive is not allowed to use when solidified.
-1.png)
-1.png)
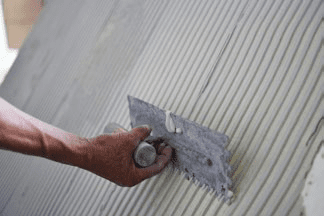
1.6 Adhesive Application
Use V-Notched trowel to spread a thick layer of adhesive on the floor. Holding the flat side of thetrowel at a 45°to 60° to spread the adhesive uniformly in a ridged pattern and continue applying adhesive in a straight pattern. Circular pattern is not recommended here to avoid bulges and gaps. Ideal Thickness is 3 to 6mm.
-1.png)
1.7 Back-Face Adhesive
Apply the same adhesive application on the flooring as to its back face. Same spread direction to avoid bulges and gaps. At the same time, chamfer four sides of the tile, to prevent adhesive run onto the surface during installment. Ideal thickness is 3 to 6mm
1.8 Tamping and Leveling
Use vacuum slab lifter to lift and place the Sintered stone tile in position and tamp gently using rubber clapper to ensure it is level and is making good contact with adhesive. Make sure that both back side and base surface of the tile are fully smear with adhesive to provide good fastness and durability. Install the tiles starting from the centre moving outwards.
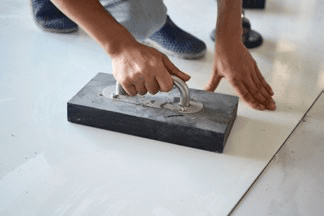
1.9 Gap Alignment
It’s recommended to use leveling system to make the installation surface perfectly flat and gaps with equal gap width. According to its thickness, Insert one at every 30 to 50cm. And use seam setter to make leveled surface with smooth joints.
-1.png)
.png)
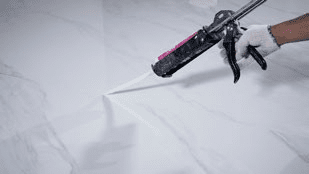
1.10 Seam Filling
Prior to seam filling, the gaps of the tile should be clean and dry. Apply Epoxy Grout for seam filling and always use white and yellow sponge to wipe off the excess grout on the tile face immediately.

1.11 Protection Measures
Cover the tiles with protective films after seam filling. (May use cardboard box as alternative) To avoid scratching the surface, you are not allowed to walk on it nor to wash it with water within the 24 hours after the job has done. After 7 days, You may use mild detergent to clean the tiles thoroughly.
2. Sintered Stone Wall Cladding
2.1 Wall Inspection
Wall inspection should be carried out properly before installment, to detect surface defects such as cracks, hollowness, grease dirt and etc. Clean the surface of loose dust and dirt, remove oil , grease, grit, and any other contamination which may be considered barriers to adhesion.
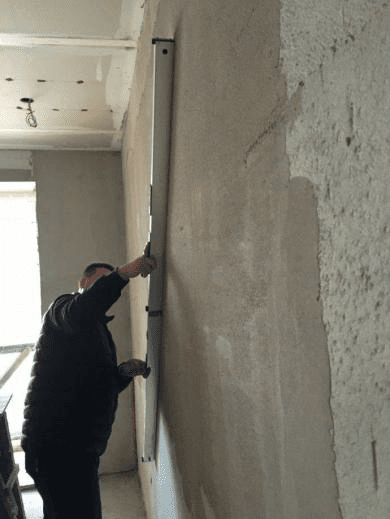
2.2 Wall Leveling
Use infrared level meter to measure the flatness of the wall, the acceptable tolerance is 3mm over a 2LM straight edge (Surface Regularity -SR1) . If higher / lower than said value, then use cement mortar for levelling. Always allow the new wall to set before proceed to the next step.
2.3 Snapping Layout Line
Use ratio 1:1 of project design drawing and Sintered Stone style to snap layout lines on the wall with dimensions and set aside gap spacing as per design requirement.
2.4 Cleanliness
Prior using or moving Sintered Stone tiles, clean the tiles and contact surface of vacuum suction cups with cleaning sponge to provide better suction force.

2.5 Adhesive Preparation
Mix water and adhesive designed for Sintered stone with ratio as per adhesive manufacturer’s recommendation. Stir and let it rest for about 5 to 10 minutes. And Stir again until you get a mayonnaise-like consistency. Use it within the allowable time stated on the label, Adhesive is not allowed to use when solidified.
-2.png)
-2.png)
2.6 Adhesive Application
Use V-Notched trowel to spread a thick layer of adhesive on the wall. Holding the flat side of the trowel at a 45°to 60° to spread the adhesive uniformly in a ridged pattern and continue applying adhesive in a straight pattern. Circular pattern is not recommended here to avoid bulges and gaps. Ideal Thickness is 3 to 6mm.
.png)
2.7 Back-face Adhesive
Use V-Notched trowel to spread a thick layer of adhesive on the wall. Holding the flat side of the trowel at a 45°to 60° to spread the adhesive uniformly in a ridged pattern. At the same time, chamfer four sides of the tile, to prevent adhesive run onto the surface during installment. Ideal thickness is 3 to 6mm.

2.8 Tamping and Levelling
Use vacuum slab lifter to lift and place the Sintered stone tile in position and tamp gently using rubber clapper to ensure it is level and is making good contact with adhesive. Make sure that both back side and base surface of the tile are fully smear with adhesive to provide good fastness and durability. Install the tiles starting from the centre moving outwards.
2.9 Gap Alignment
It’s recommended to use leveling system to make the installation surface perfectly flat and gaps with equal gap width. According to its thickness, Insert one at every 30 to 50cm. And use seam setter to make leveled surface with smooth joints.
-2.png)
-1.png)
2.10 Seam Filling
Prior to seam filling, the gaps of the tile should be clean and dry. Apply Epoxy Grout for seam filling and always use white and yellow sponge to wipe off the excess grout from the tile face immediately.
2.11 Protection Measures
Cover the tiles with protective films after seam filling. To avoid scratching the surface, you are not allowed to touch it nor to wash it with water within the 24 hours after the job has done. After 7 days, You may use mild detergent to clean the tiles thoroughly.
3. Sintered Stone Dry Hanging
Can be classified into : Back Net Dry Hanging and Thermal Insulation Dry Hanging, applicable to South and North China respectively.
3.1 Back Net Dry Hanging - Suitable for South China
3.1.1 Cut aluminum alloy according to on the size of Sintered stone tiles.
3.1.2 Assemble the aluminum alloy back-frame.
3.1.3 Attach back-frame with double sided tap, in order to take control of the position of structural adhesive’ and sectional dimension.
3.1.4 Use soft cleaning cloth together with detergent to clean back-face of the tile. It has to be free of dust, grease, rust and any other contamination which may be considered barriers to adhesion.
3.1.5 Inject silicone gum that is solid, uniform and bubble free.
3.1.6 Attach the assembled aluminum alloy back-frame at the back of the tile.
3.1.7 Store the compound tiles for care and maintenance in more than a week, The storage area must has clean flat ground that are all covered with thick wood in uniform thickness and with room temperature maintain at 20 degree celsius and humidity level at above 50%.
3.1.8 After care and maintenance , use epoxy fiberglass mesh as its back net.
3.1.9 Snap Layout lines on the wall.
3.1.10 Install keel strips and make sure its firmness , steadiness, roughness and flatness have reached the quality standard of the country.
3.1.11 Make sure about the vertical and horizontal of the standard control point. Use vacuum suction lifter to lift and place the tiles in position. Use electric drill and self tapping screw to lock the keel in place. Installation steps should start from the bottom to top.
3.1.12 Seam Filling. Clean the gaps and dry it off. Tape on both seam sides and use glue gun to fill silicons in the gaps, then use a scraper to remove the tape afterwards.
3.1.13 After installation, remove off the tape on tile surface and use water and detergent to clean the surface.
.png)
.png)
.png)
.png)
Has to use double package of Epoxy Adhesive. Attach Dry Hang Anchor and thermal asbestos at the back of the Sintered stone tile. Set aside the compound tile for care and maintenance at about a week before installation.
.png)
.png)